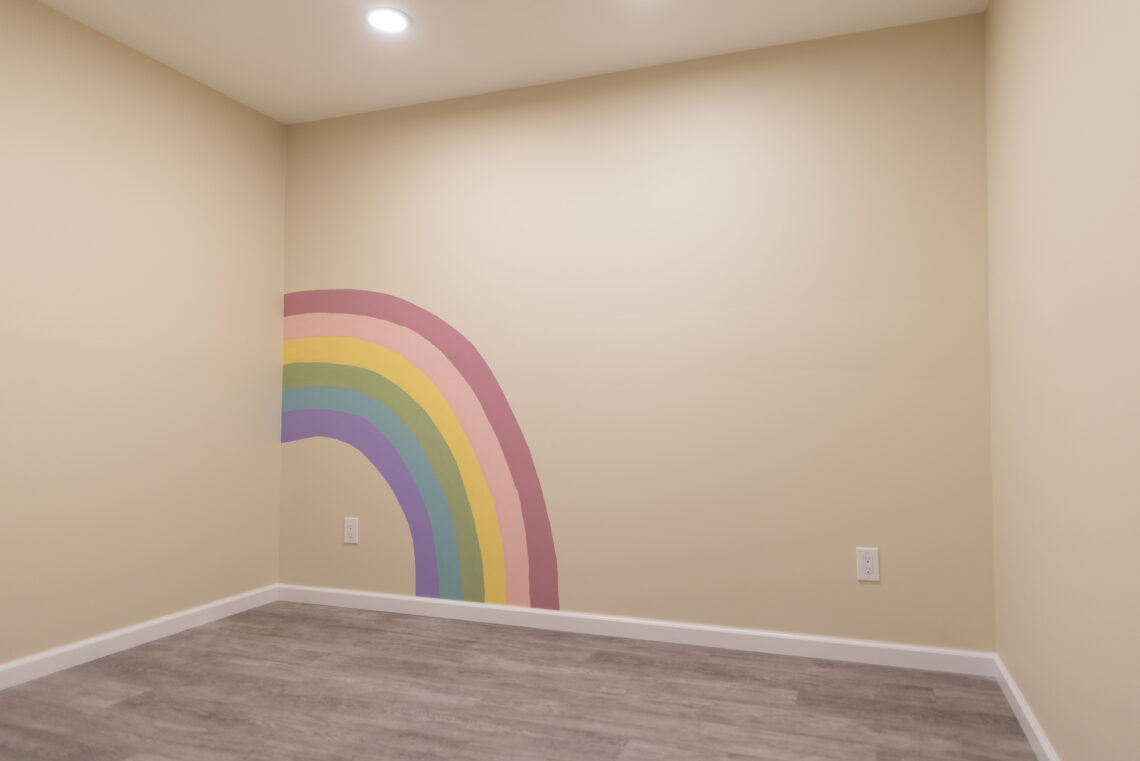
When I planned out Isabella’s future playroom in our basement remodel, I knew I wanted to give it something special. I looked at numerous ideas on Pinterest and even browsed loads of wall decals for quite some time before settling on the idea of painting a rainbow mural! I initially thought a full size rainbow would be great, but after laying out just how I wanted her playroom to look on Photoshop, because I’m just that type of person.. I decided that wouldn’t be necessary and would probably be a lot harder to do.
Little did I know, doing half of a rainbow was just as challenging!
But I’m here to tell you just how I did it, and what worked for me..
Here’s what you’ll need:
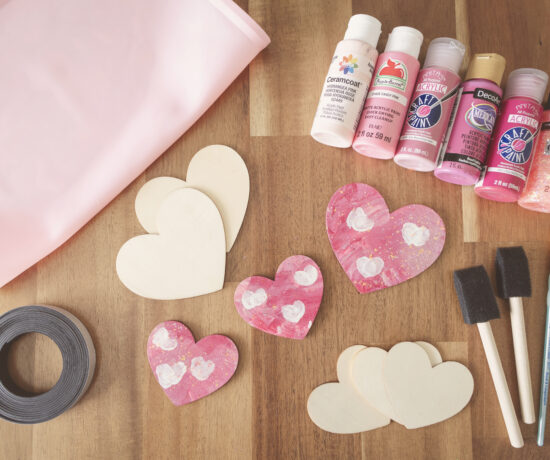
- Paints for your rainbow stripes (I used 6 pastel-ish colors)
- Smaller rounded tip paintbrush
- 1″ and 2″ paintbrush
- Blue painter’s tape
- White chalk
- Something to wipe chalk with
All of our supplies were purchased from our local Hobby Lobby, except for the blue painter’s tape, but i’m sure you could find these or something similar at any craft store, and the painter’s tape at any home improvement or paint store. 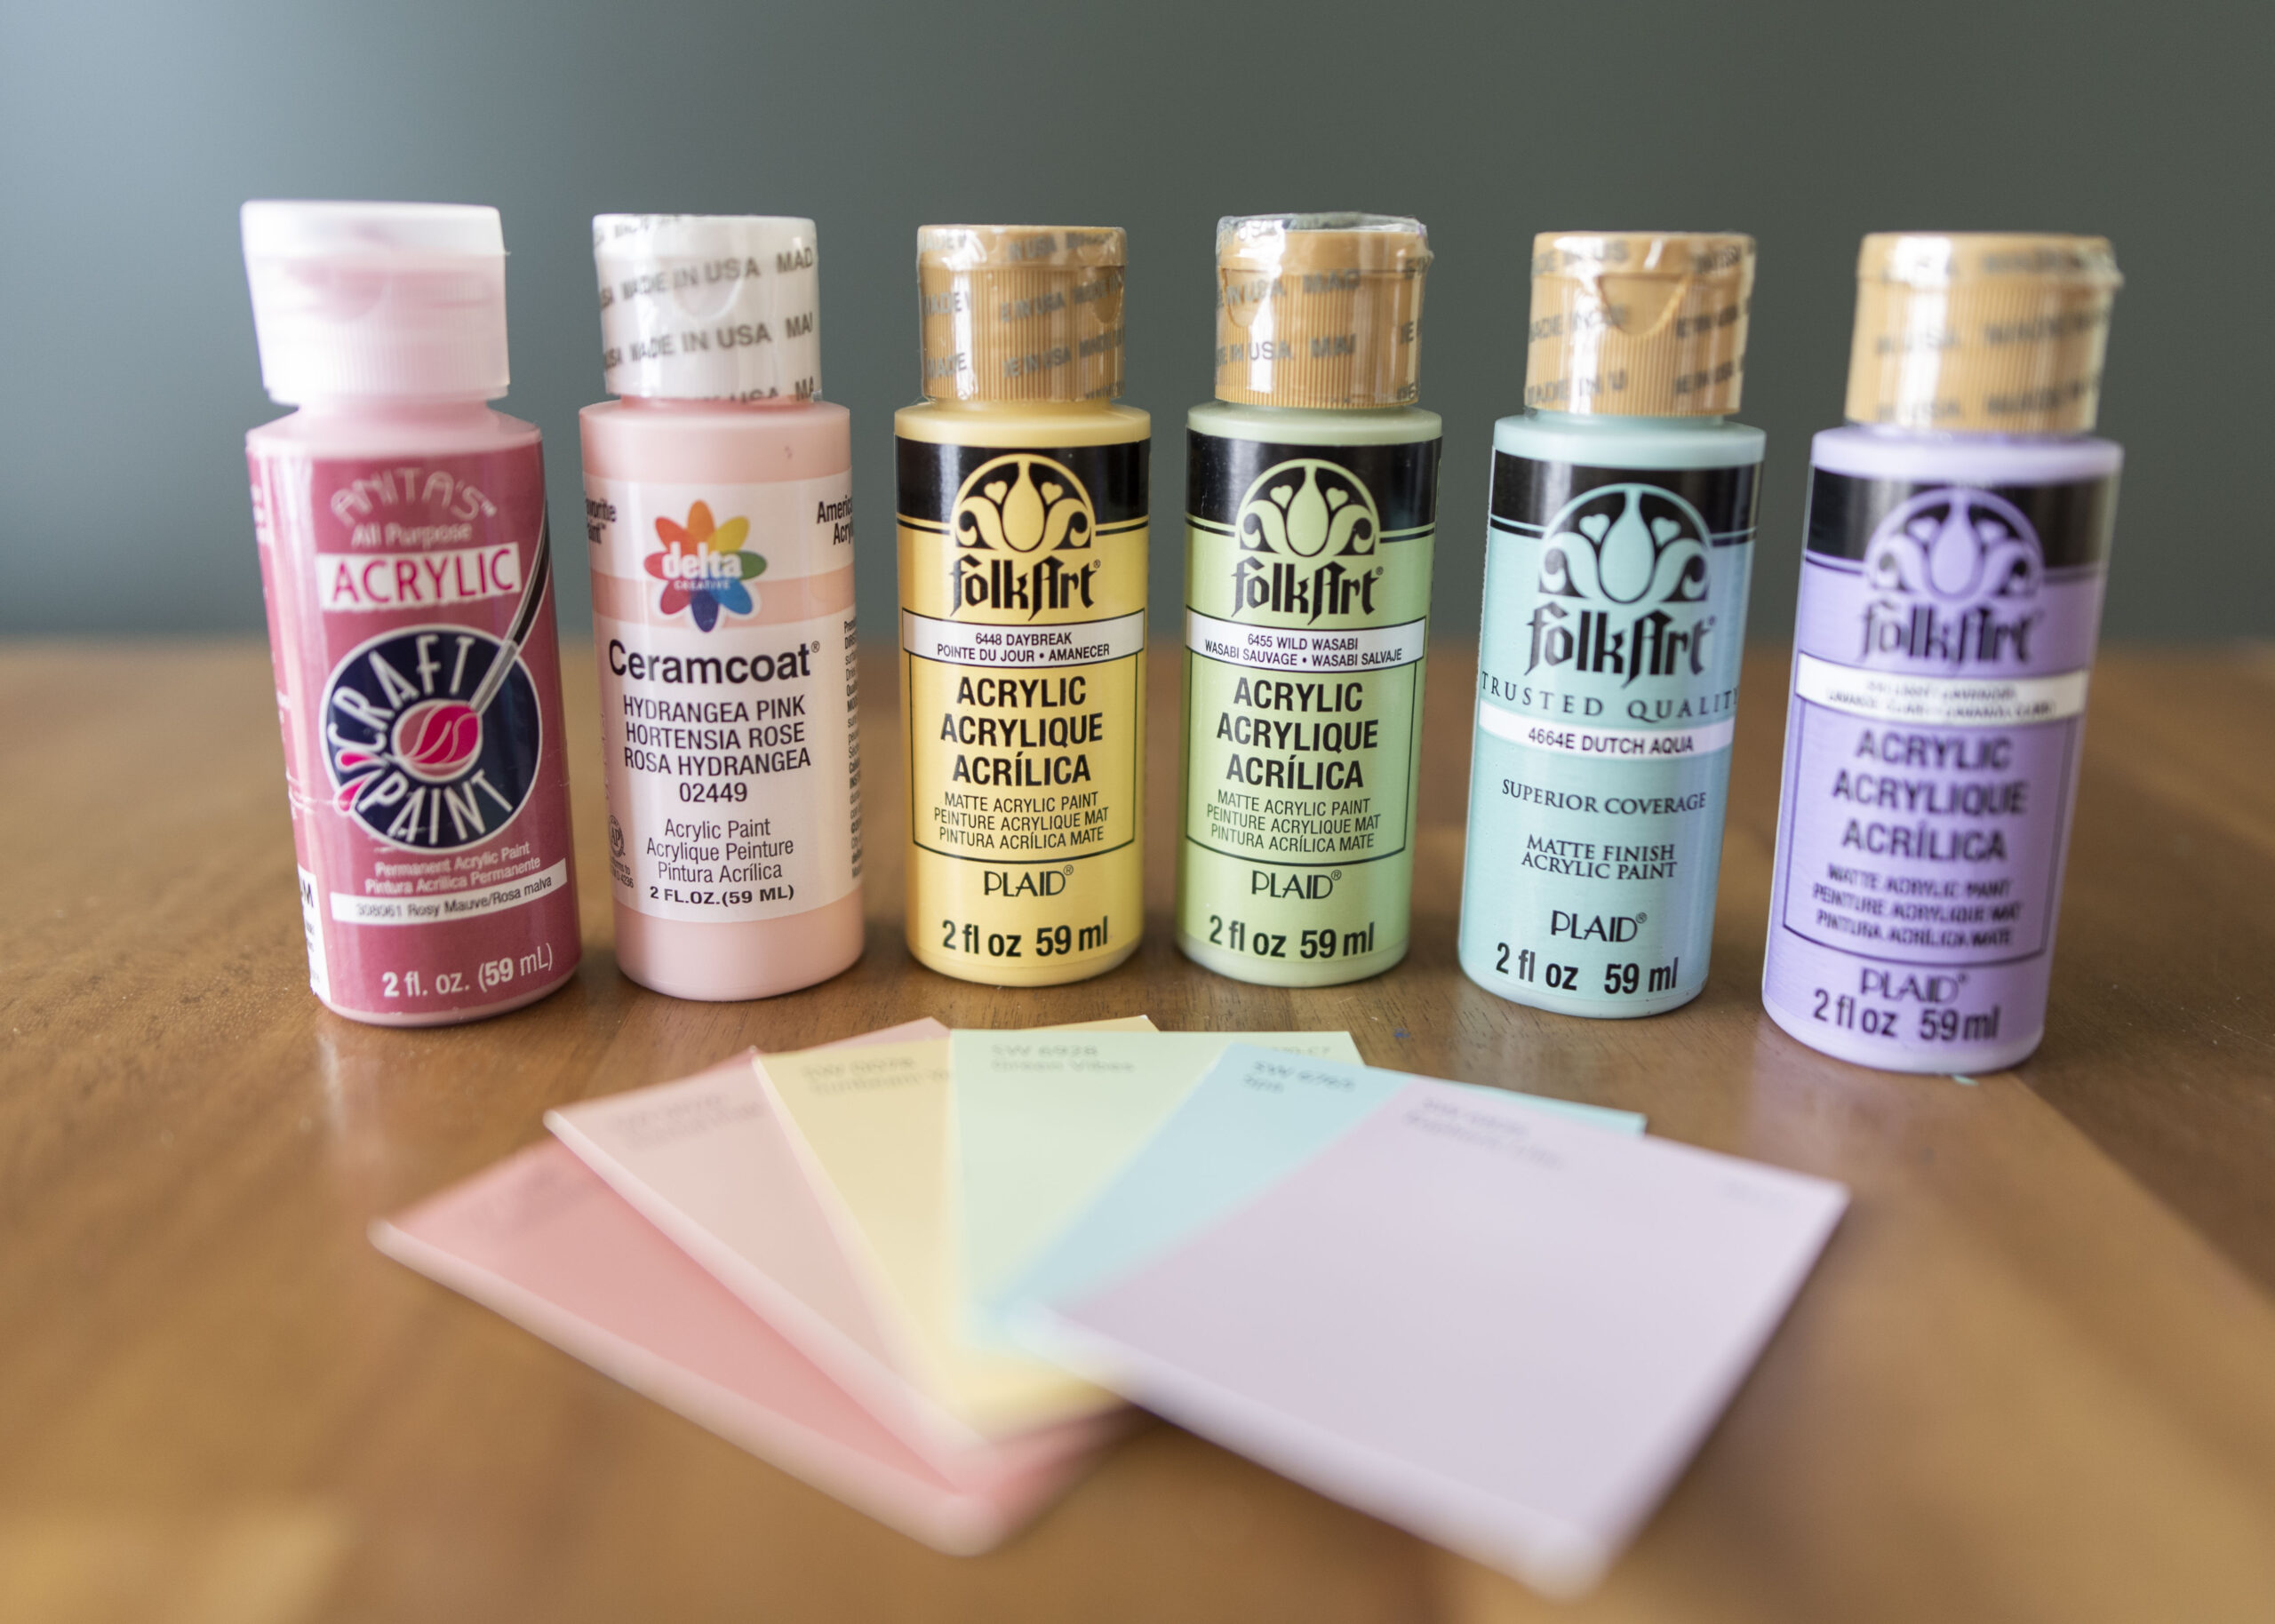
The first thing we did was decide on colors. Initially I had planned to purchase a small quart for each color from Sherwin-Williams at the same time as purchasing our other paints for our basement walls, but after seeing the size of the smallest paints they offered, I knew I would have a lot left over. So that led me to Hobby Lobby to choose my colors from their acrylic paints. (You could use paint from anywhere, but I prefer these and they worked great for us) From there I just chose colors coordinating to the rainbow I had created in Photoshop. Once I got them home I did a test spot on a separate sheet of paper to make sure they all matched up.
Next it was time to decide just how I was going to get the rainbow outline on the wall. I thought about doing a light pencil marking, but was worried it may show through the paint, so quickly nixed that idea. I borrowed a projector from my in-laws, but that didn’t project the image large enough and was going to be hard to trace. After some research I came across a trick where you put a thumbtack in the bottom corner with string and tie it to chalk and then create a half circle and keep moving the chalk down the string to make the bigger or smaller half circles. For someone with no patience.. or thumbtacks and string handy, I decided chalk was the way I was going! 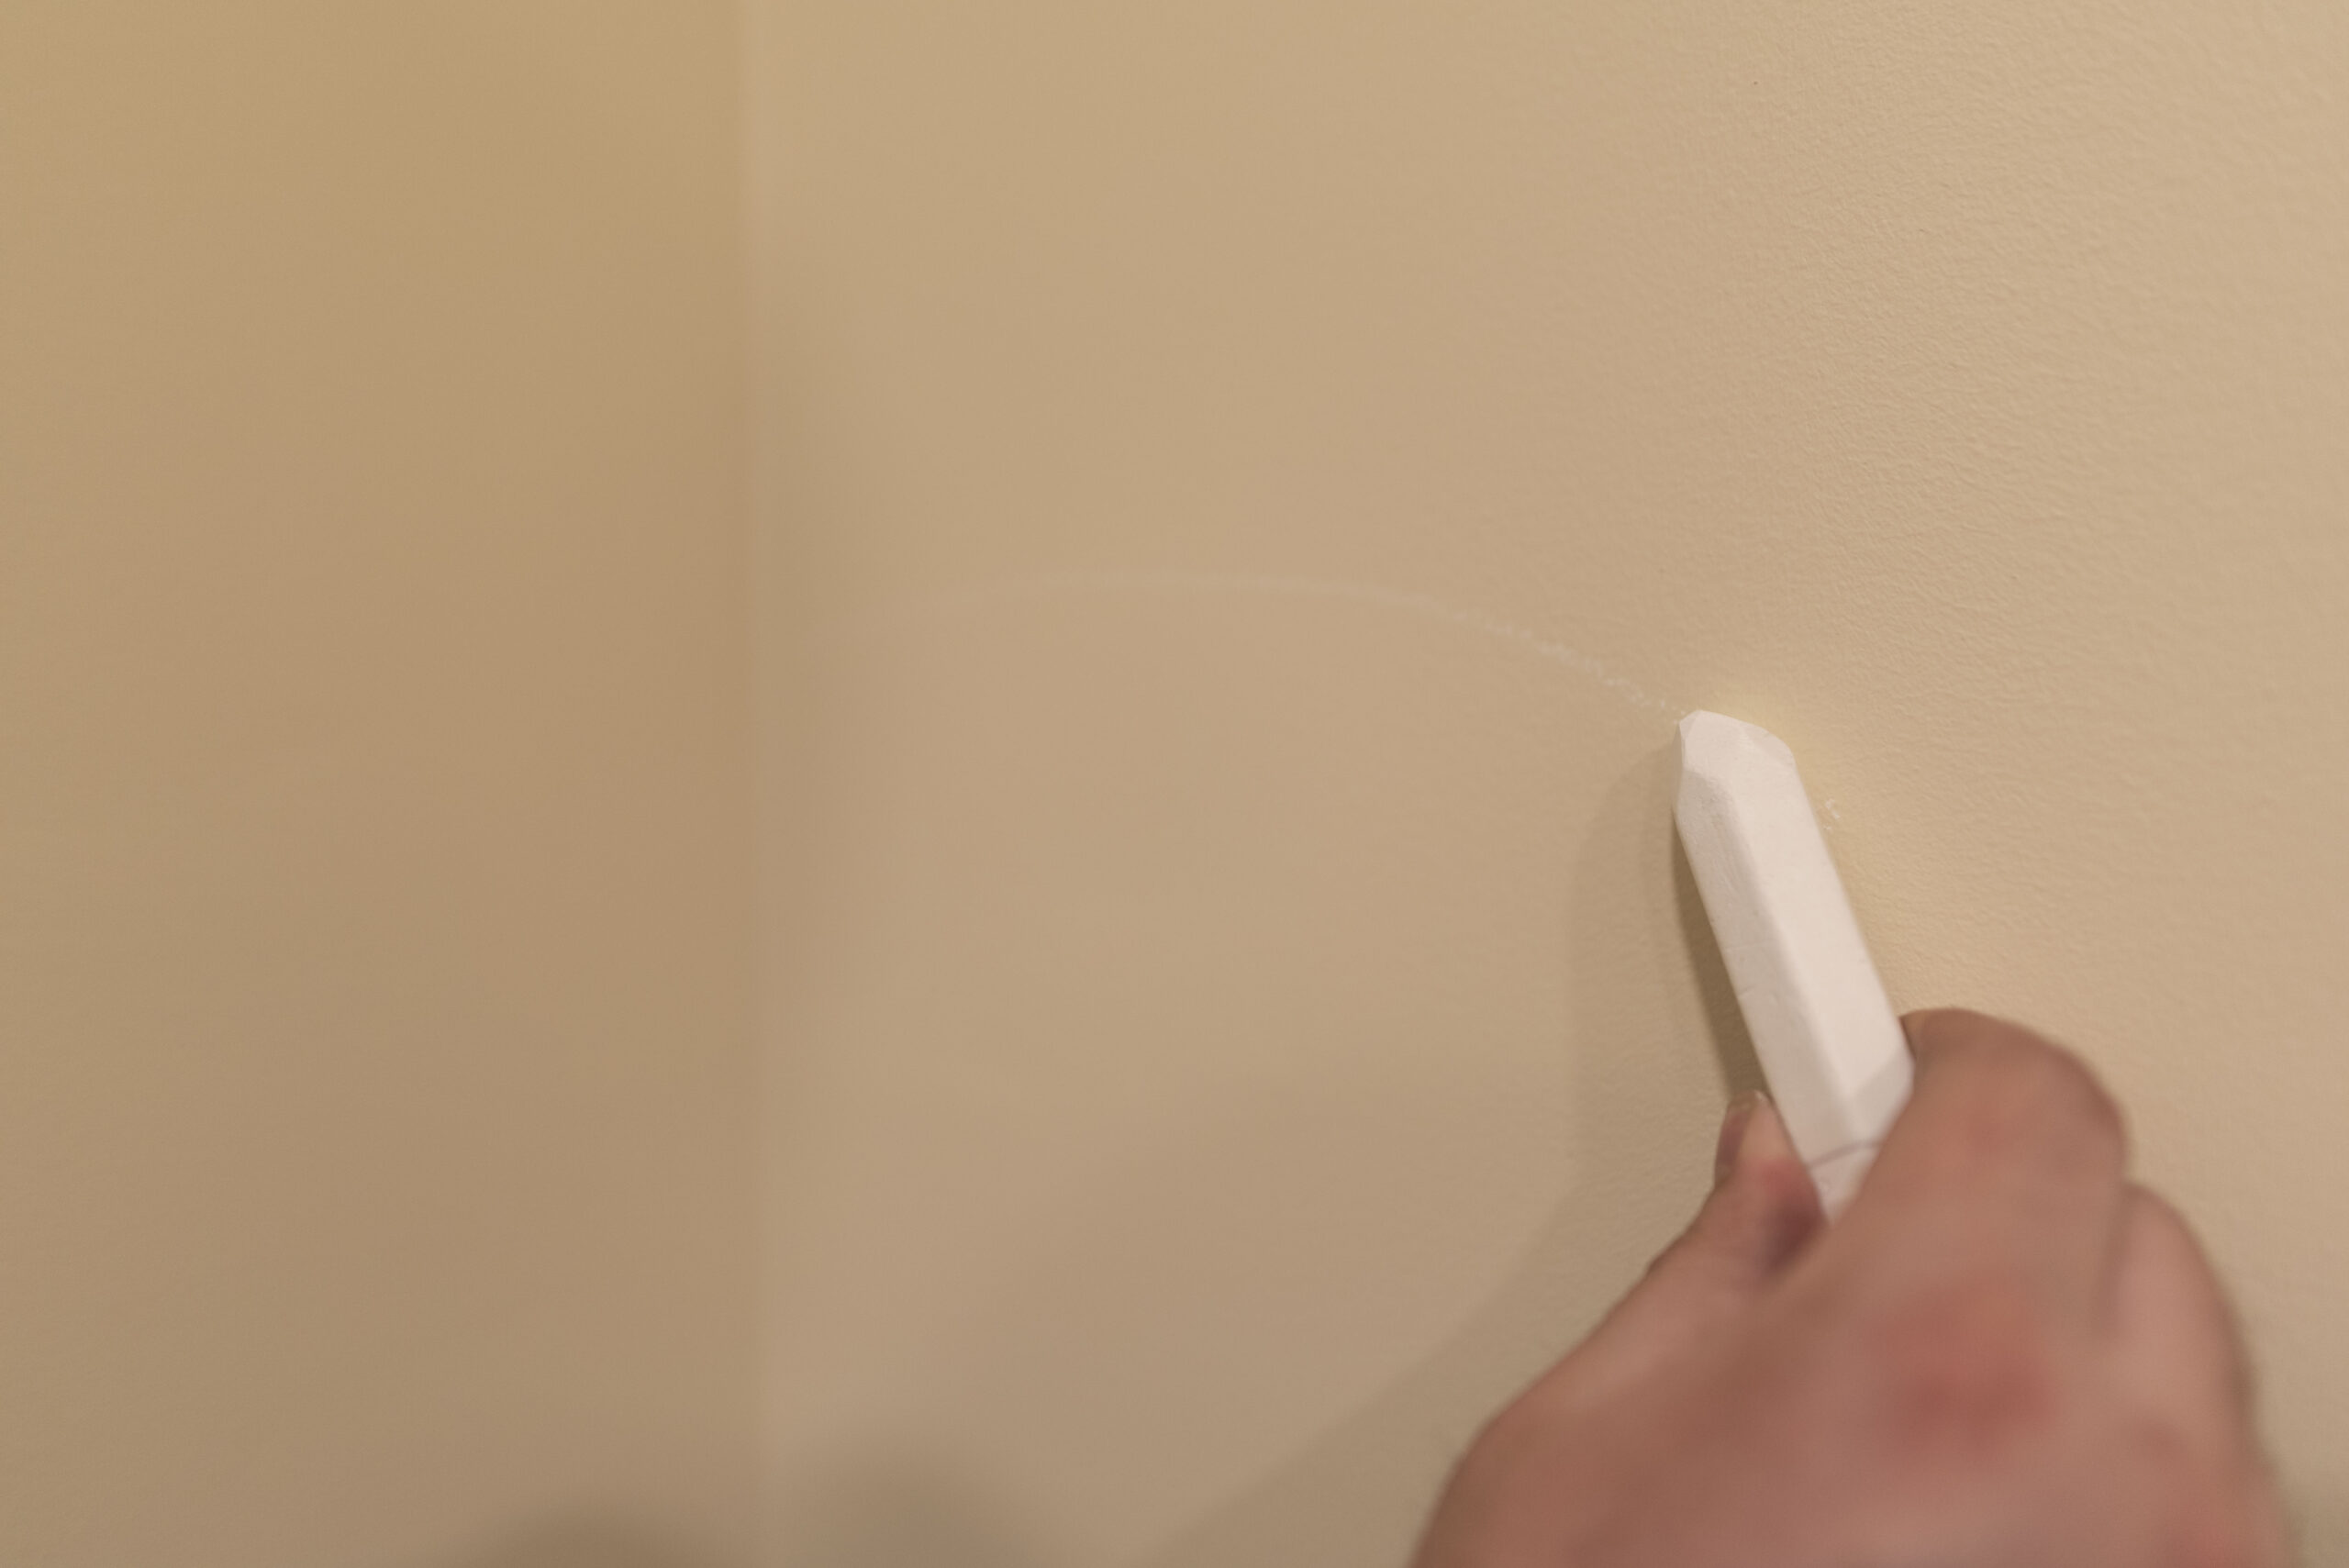
Before we started, we did a test spot on the wall where we did a small mark with our daughter’s sidewalk chalk, and with a light wipe from a paper towel it was gone with no trace left behind. That helped us decide that this was definitely the right route for us. My husband help me draw on the first chalk half circles, since he has longer arms than I do, and I stood back to help him adjust where needed.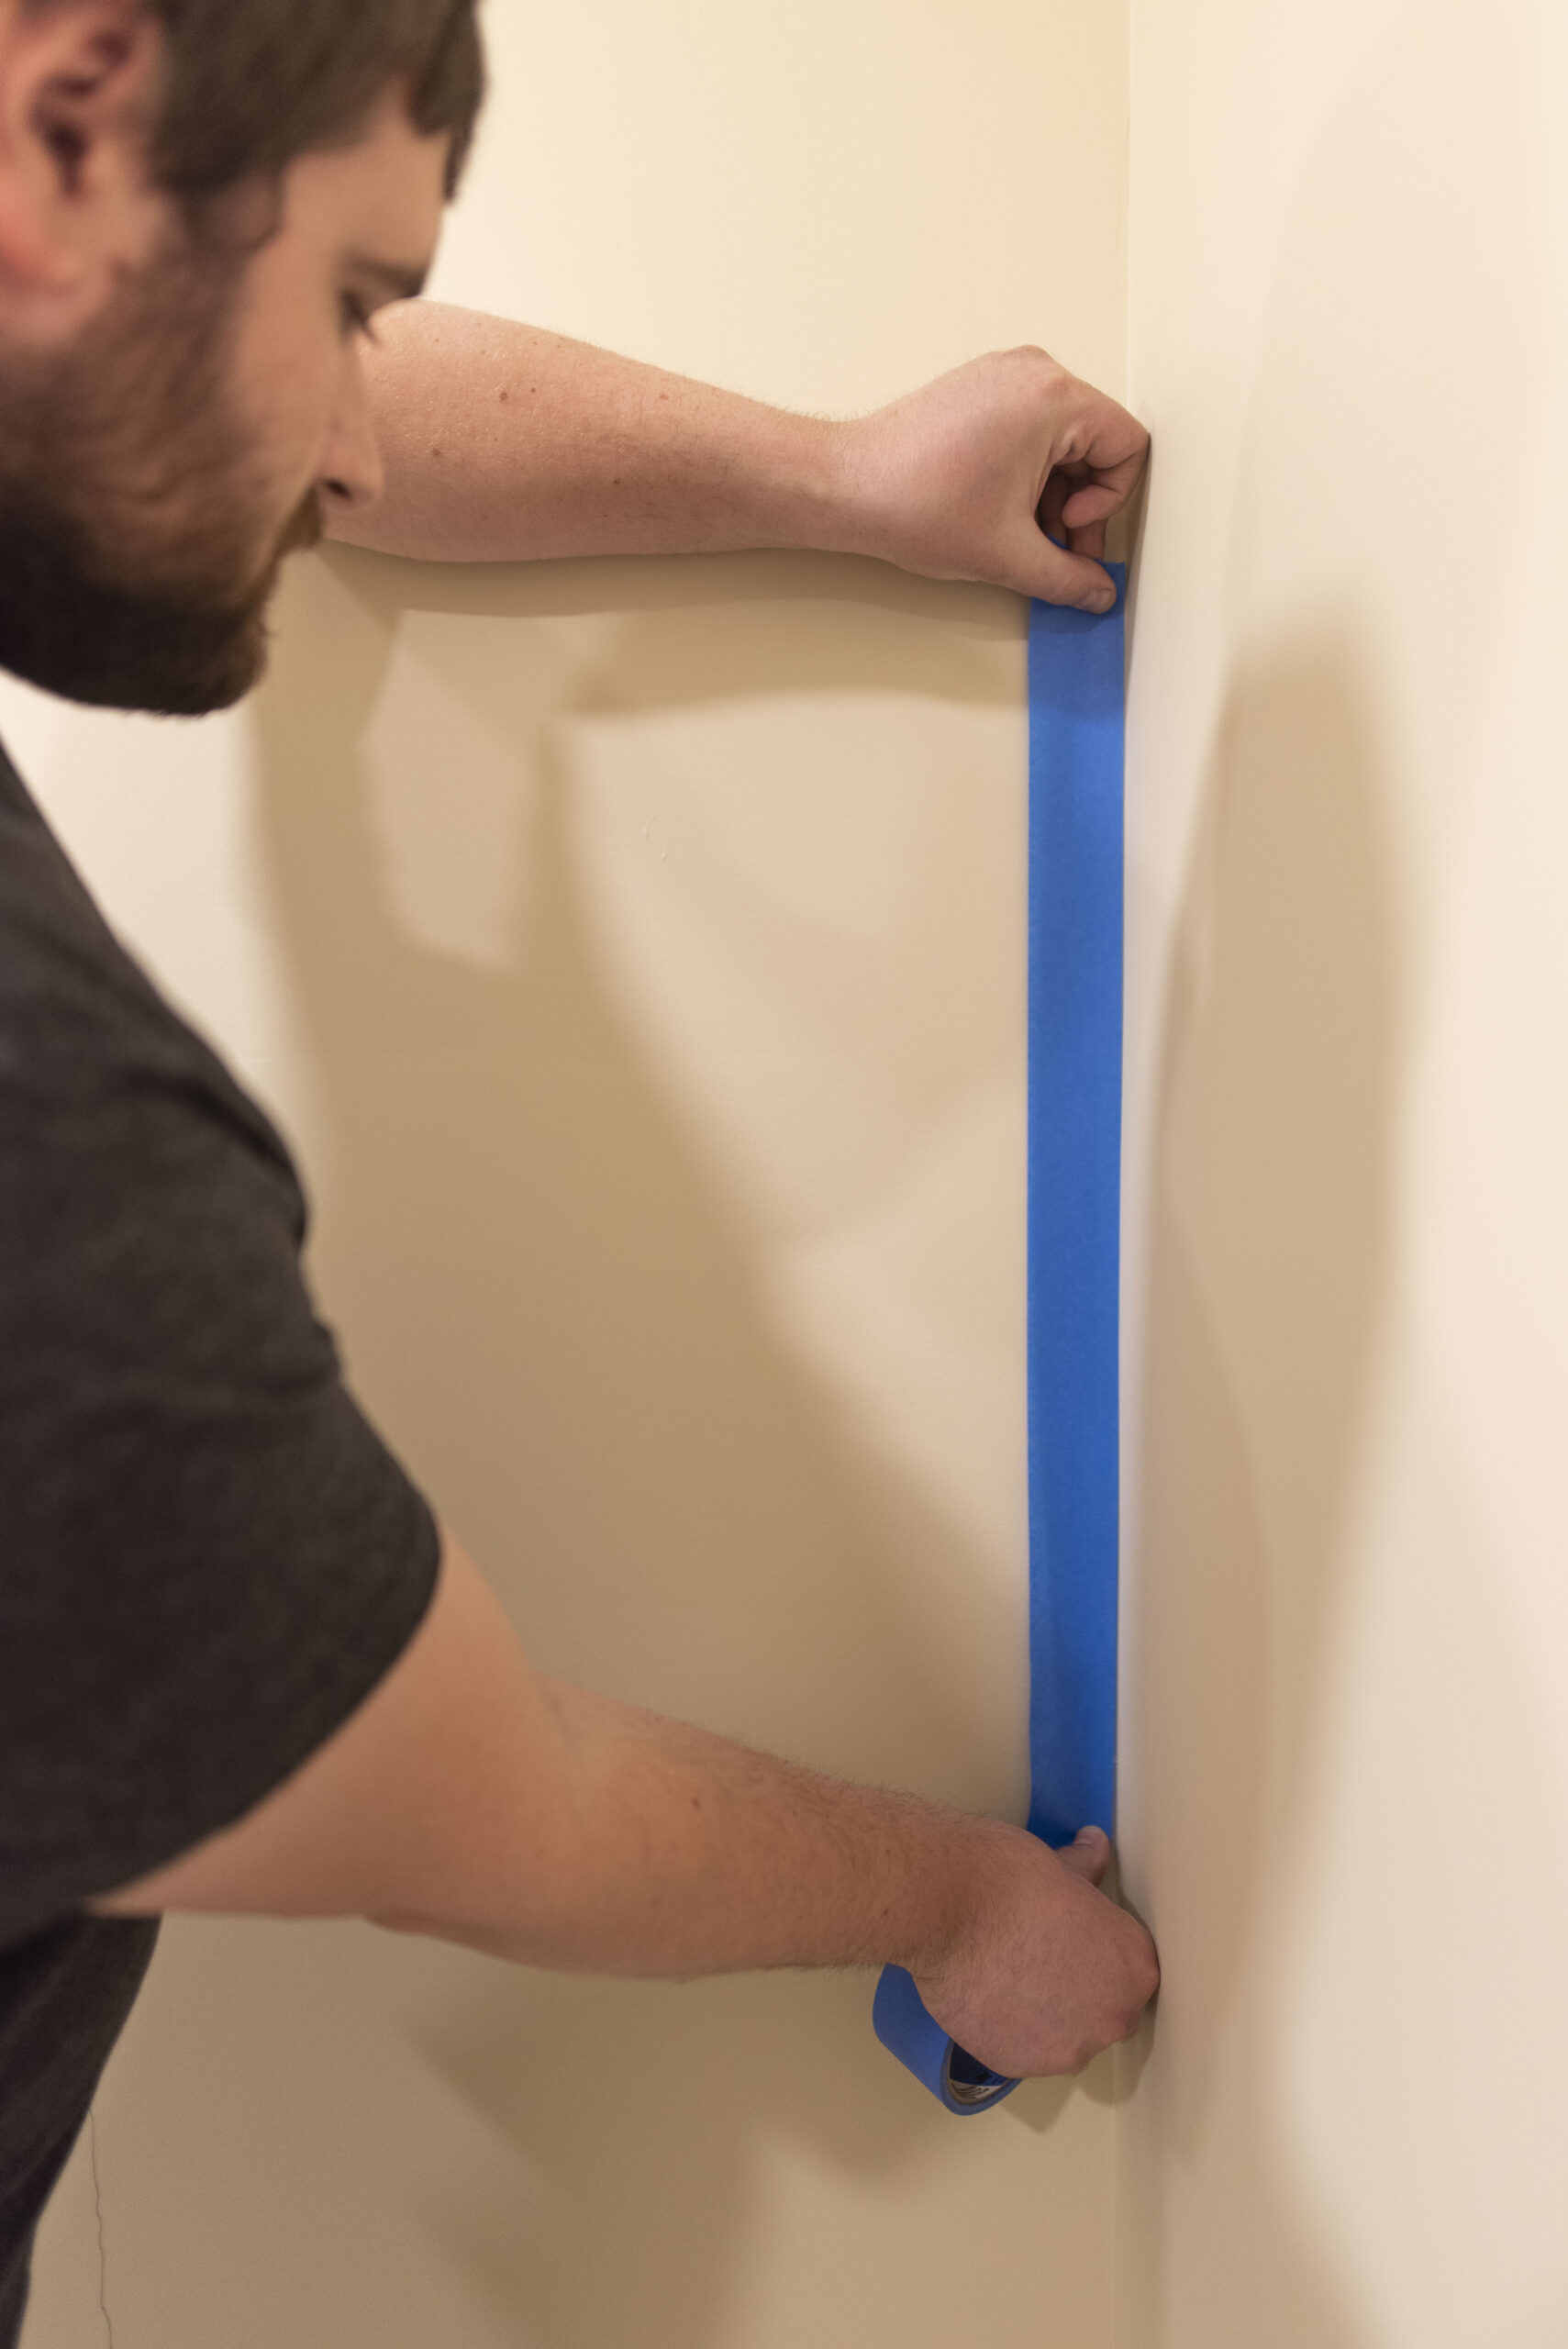
Once we had our chalk outlines, it was time run blue painter’s tape down the adjoining wall in the corner so not to get paint on that side. We stuck the piece about 2 or 3 inches above where our top chalk outline was, just in case I ended up adjusting it further, and ran the tape down the corner to the bottom of the wall. After that, it was time to start painting! I decided to start from the bottom color up. I used the rounded tip paintbrush for the outline, and the 2″ paintbrush for the inside, filling in the color.
After getting the 3rd color on from the bottom I decided that manipulating the blue painter’s tape to follow the curve of the first color was a genius idea to make the bottom line crisper. I ended up deciding to do this again later on for the final top color to get a crisper line there as well. I would highly suggest using your painter’s tape for the top and bottom lines from the very start if you can!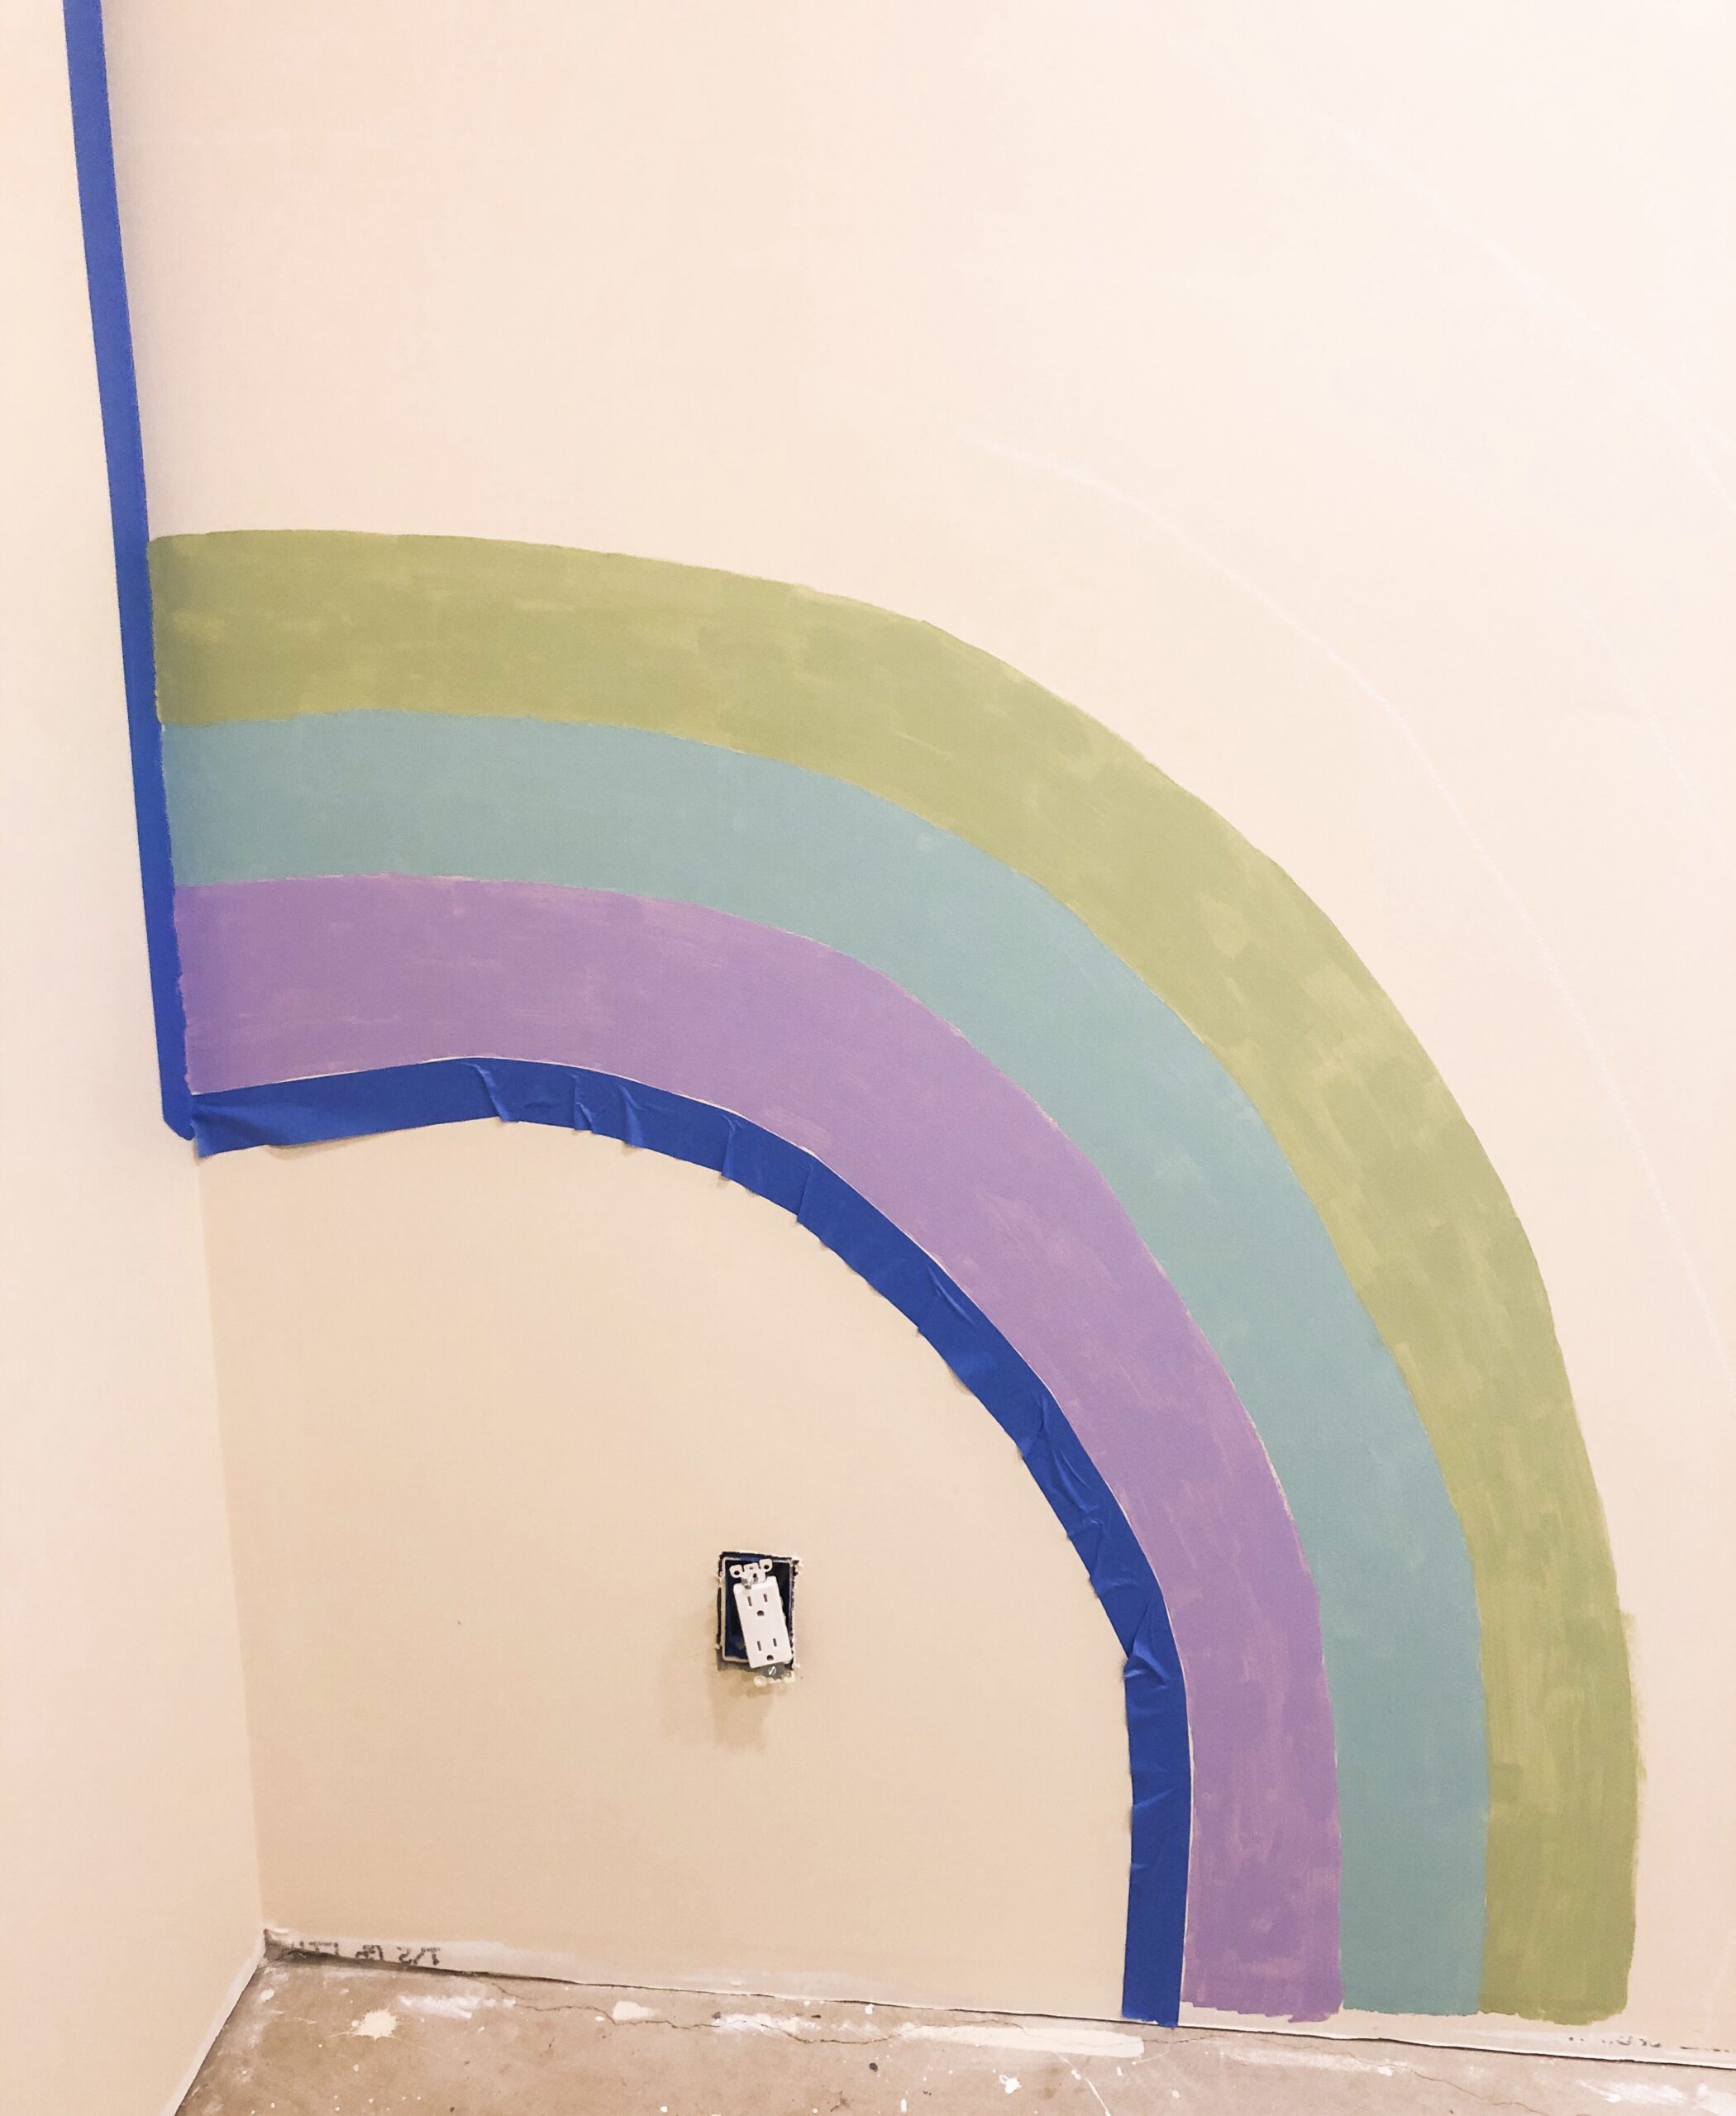
After finishing the first coat of each color, I did edge touch ups and the second coat of each color with my 1″ paint brush, going much slower and making sure to be super precise. Once the second coat of the bottom color was done, I removed the tape and once the second coats of the other colors were all finished I removed the corner and top tape I had added, and admired the work!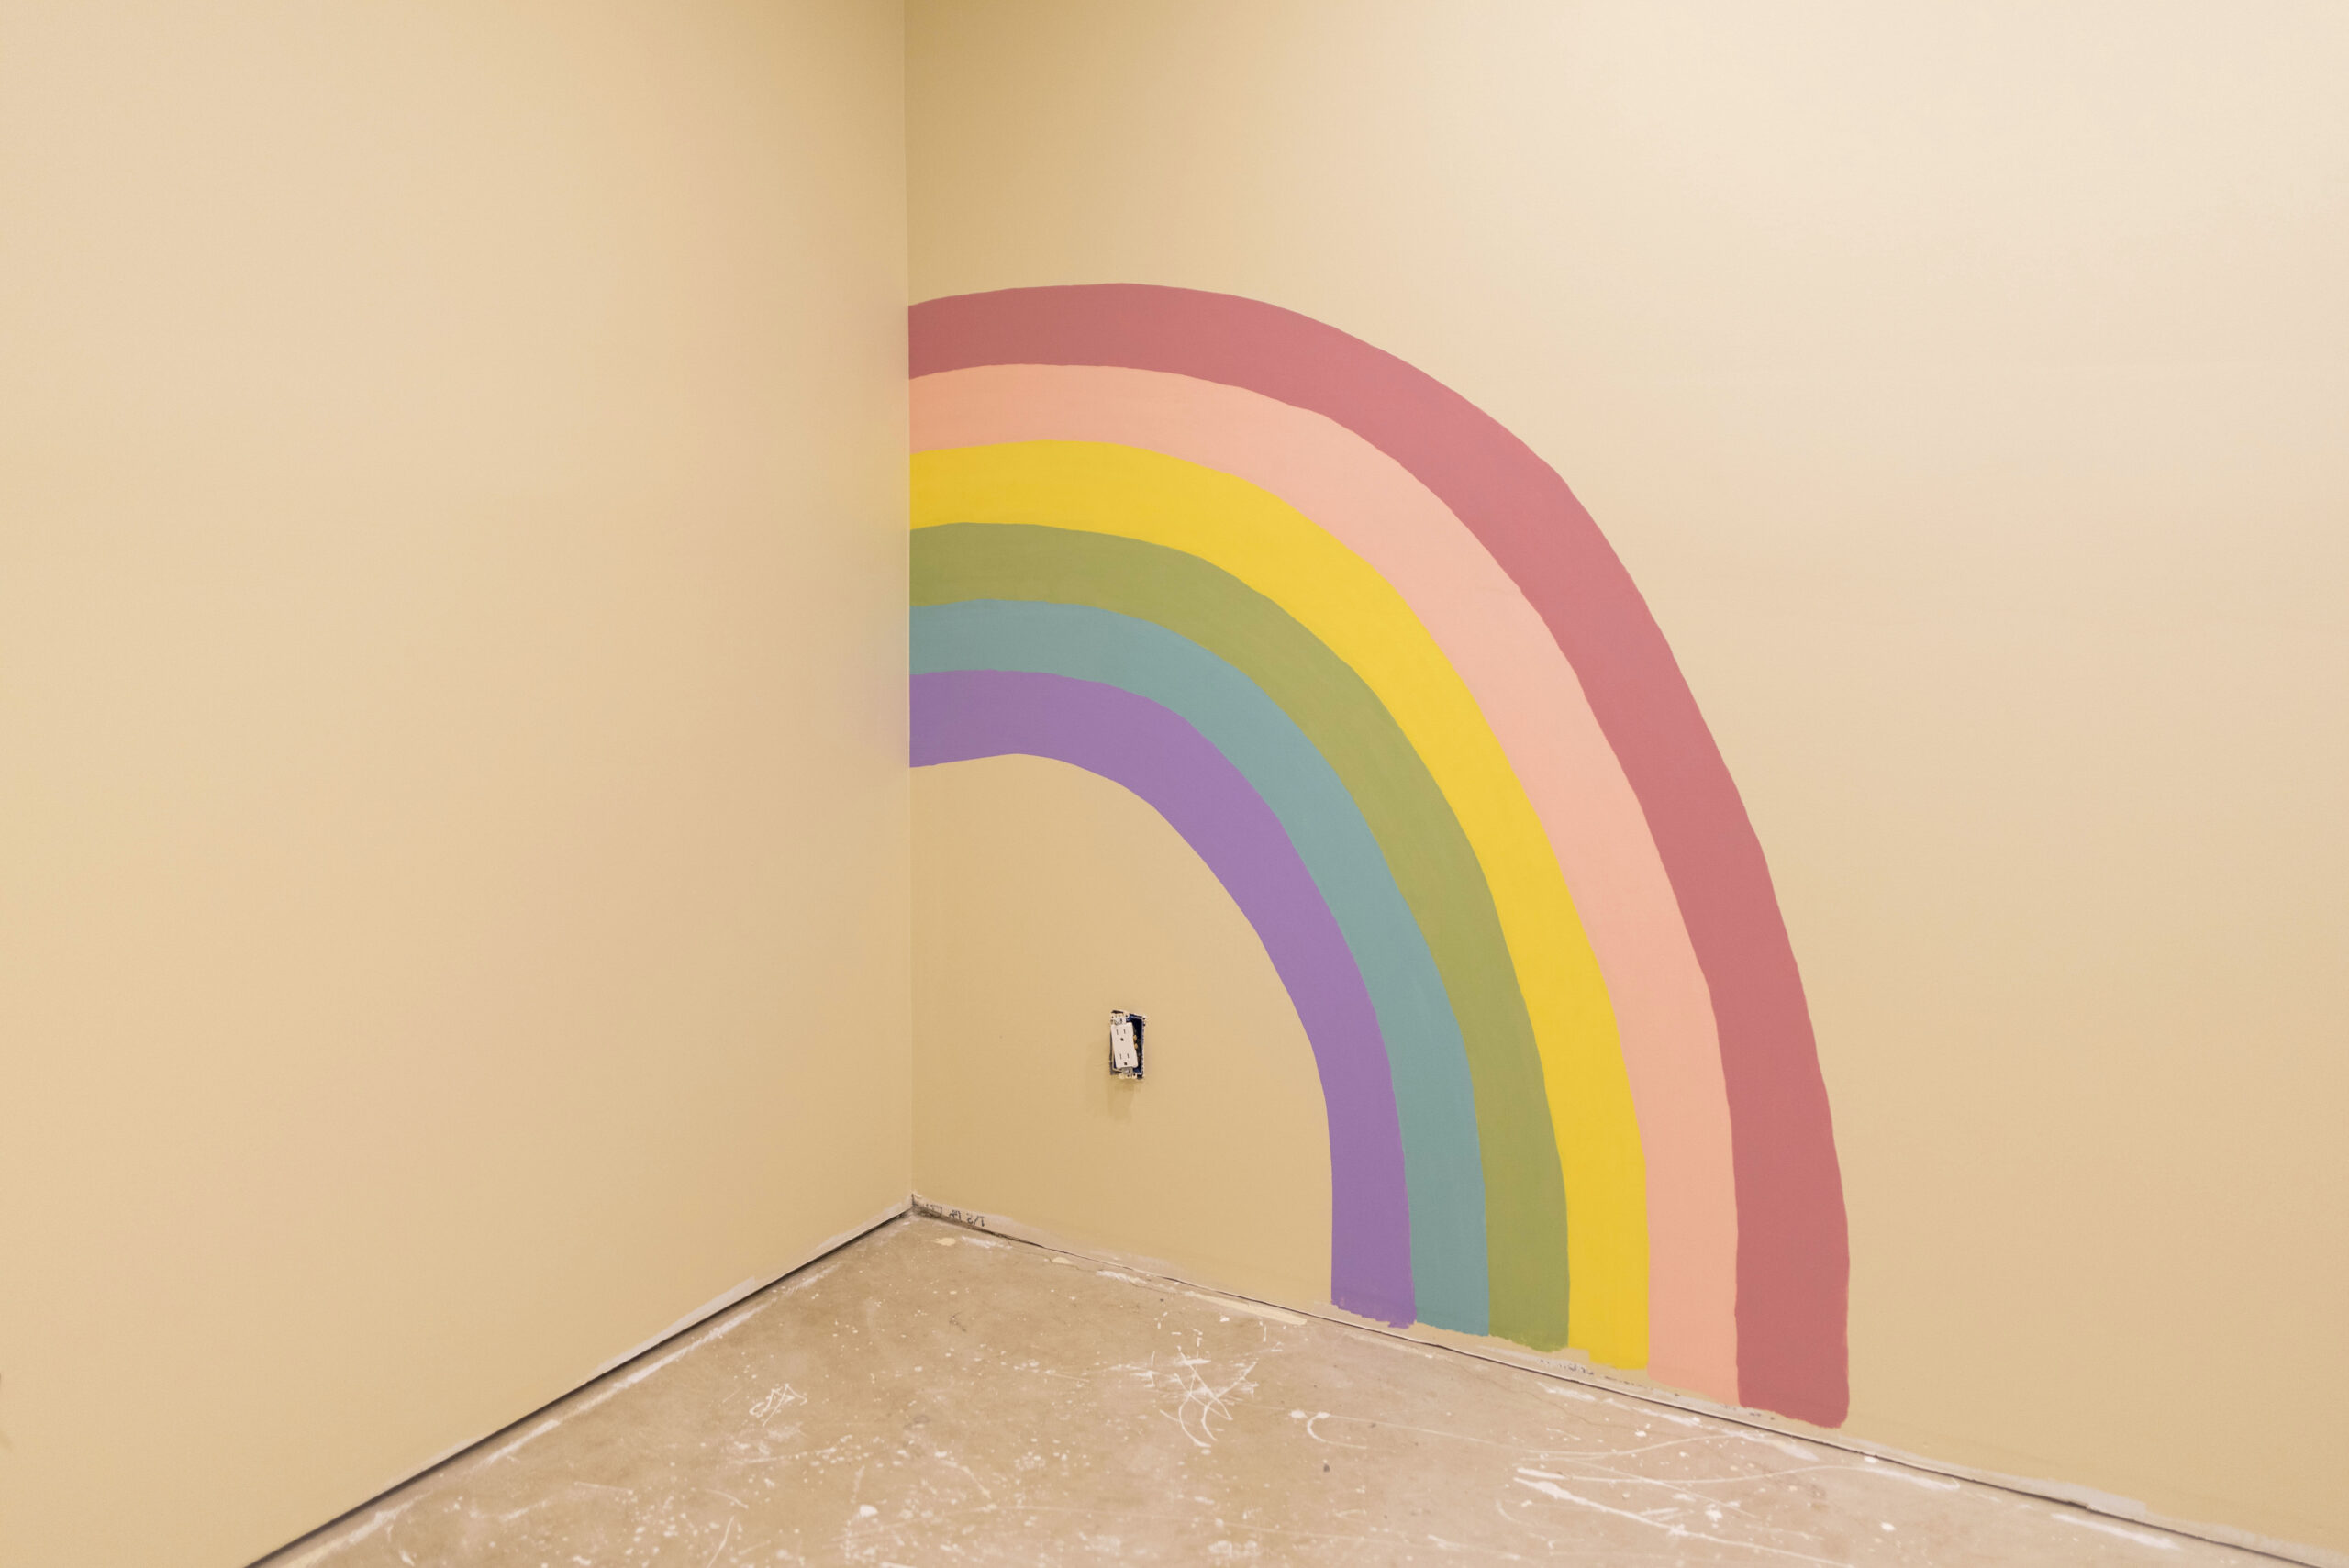
After a few hours it was all completely dry and looked great! Even better than I had imagined, and although it was challenging, it was definitely worth it!
A couple weeks later our playroom flooring and trim was in and we were able to get some photos of it completed with the rainbow being a gorgeous corner focal point!

